
Discover How Amazing Creating Airports in Overlay Editor NOW
What is Overlay Editor?
Overlay editor is a free scenery editing program that is available on Xplane.org.
It was created by Marginal who has created a number of X Plane plugins. Overlay Editor was created back in 2006 and the latest version was released back in 2017.
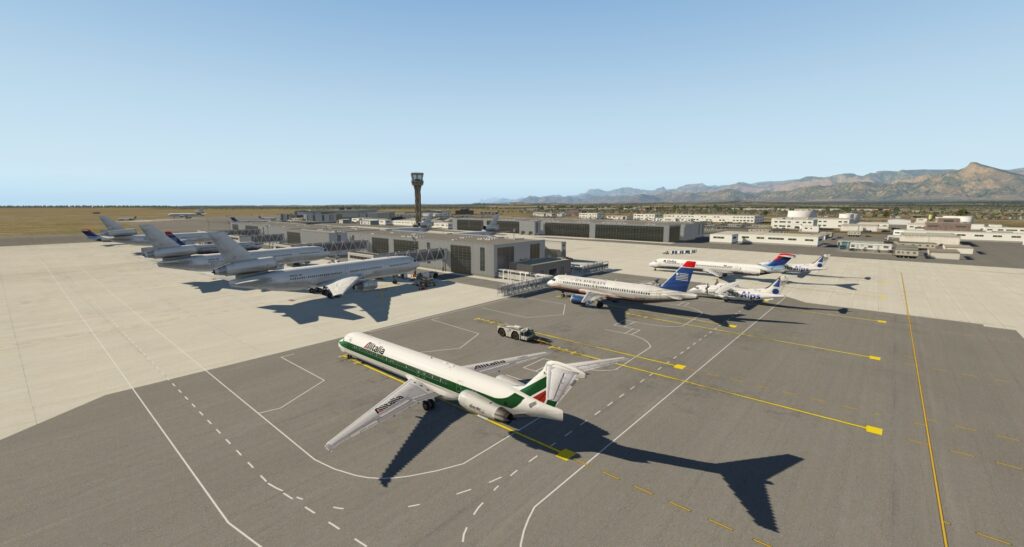
Overlay Editor allows you to create a new airports and scenery for X plane 11.
It is easy to build new airports if there is one that does not exist or does not have any buildings. You can just use overlay editor to update an airport with aircraft, buildings and more!
If your local airport is lacking trees or a hangar, then you can use overlay editor and its libraries to add what is missing. It can also add people or even aircraft. There are even animated objects plus buildings with smoke and lights.
Overlay editor enables you to locate an airport using the X Plane’s database search window. Then use the X Plane library of objects or additional libraries available on X Plane.org to quickly click and place them on the airport you are editing. There are a lot of dedicated people also creating additional libraries of objects for you to use. You can download these libraries into X Plane’s custom scenery folder and access even more objects through the library menu in overlay editor.
Overlay Editor is available on Xplane.org of free. Its truly amazing that such an amazing program is available for free. Click here to DOWNLOAD FREE!
- Latest CPU’s Available Now – Amazon.com
- Get a NEW GPU Best Performance – AMAZON.com
- Upgrade RAM Here today – AMAZON.com
- Prebuilt PC Options – AMAZON.com
What scenery do I need to start building?
Before you start building its worth while download additional libraries from xplane.org.
The most popular libraries are:
RA Library – MrX Static Library – The FAIB Aircraft Library – The handy Objects Library – CDB Library – RE Library – Open Scenery X – JB Hangars – People Library to name a few. I noticed some new libraries new to the collection so download and install.
Animated Libraries also exist like the flyby planes library which will give you a selection of animated aircraft. These can be stationary or flying at different altitudes where ever you decide to place them. They can takeoff and fly around on their own pre determined flight paths. If they will take off then line them up on a runway! These really bring your airport to life. A note: If your planning to share your libraries that anyone who downloads your creations will need all the libraries you have used as well so keep notes!
Install Overlay Editor.
Simply run the installed once downloaded. Click HERE to DOWNLOAD FREE!
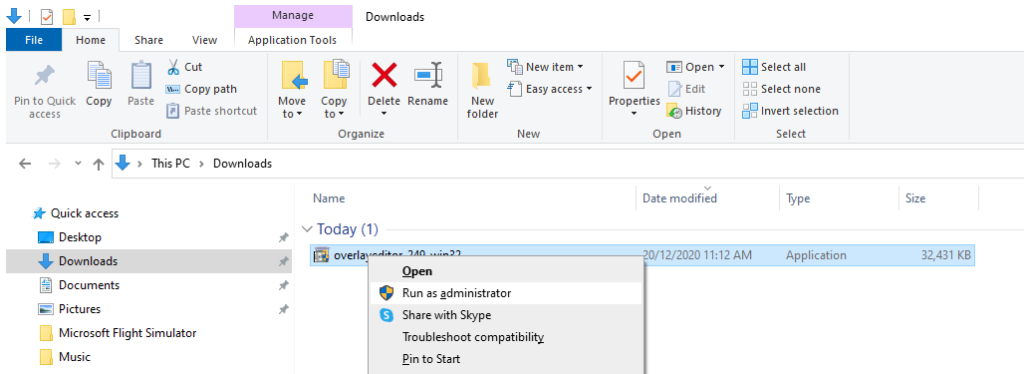
Once downloaded you can install it to any folder on any drive.
- Select the download in your DOWNLOAD folder and run it.
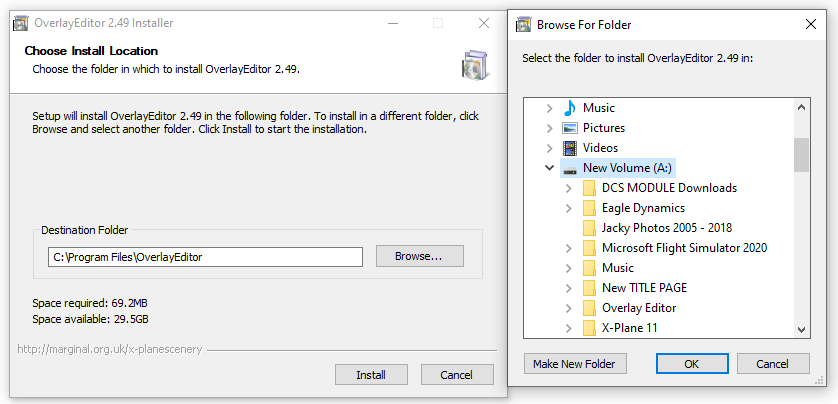
- Select a folder to install it. It can be anywhere. I made a new folder on my A drive which is a 1TB SSD for all my games. Hit OK! Its all done!
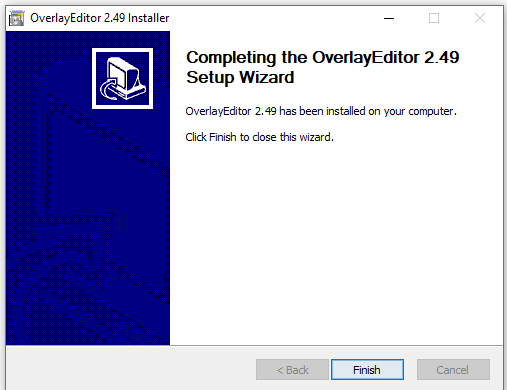
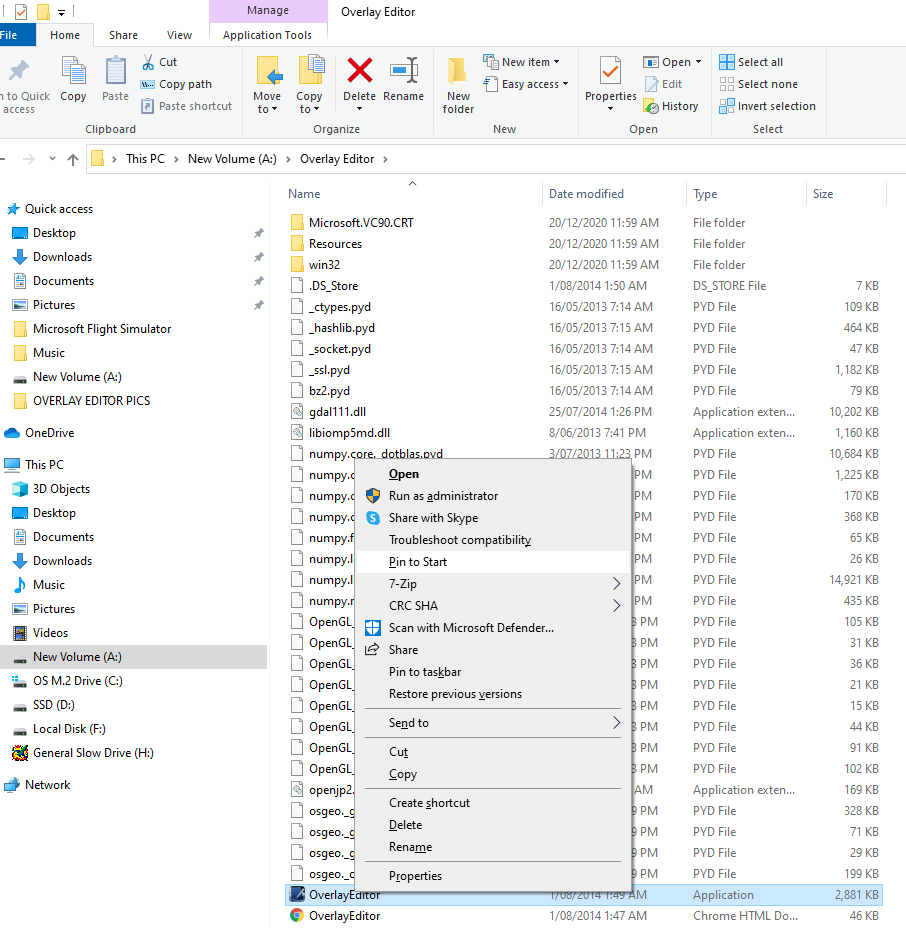
When complete hit FINISH and your all finished. Next navigate to where you saved the program and select the OVERLAYEDITOR.EXE with a right click of the mouse. Select Pin to Start so its on your start Menu and you can find it quickly.
Find your Airport to EDIT.
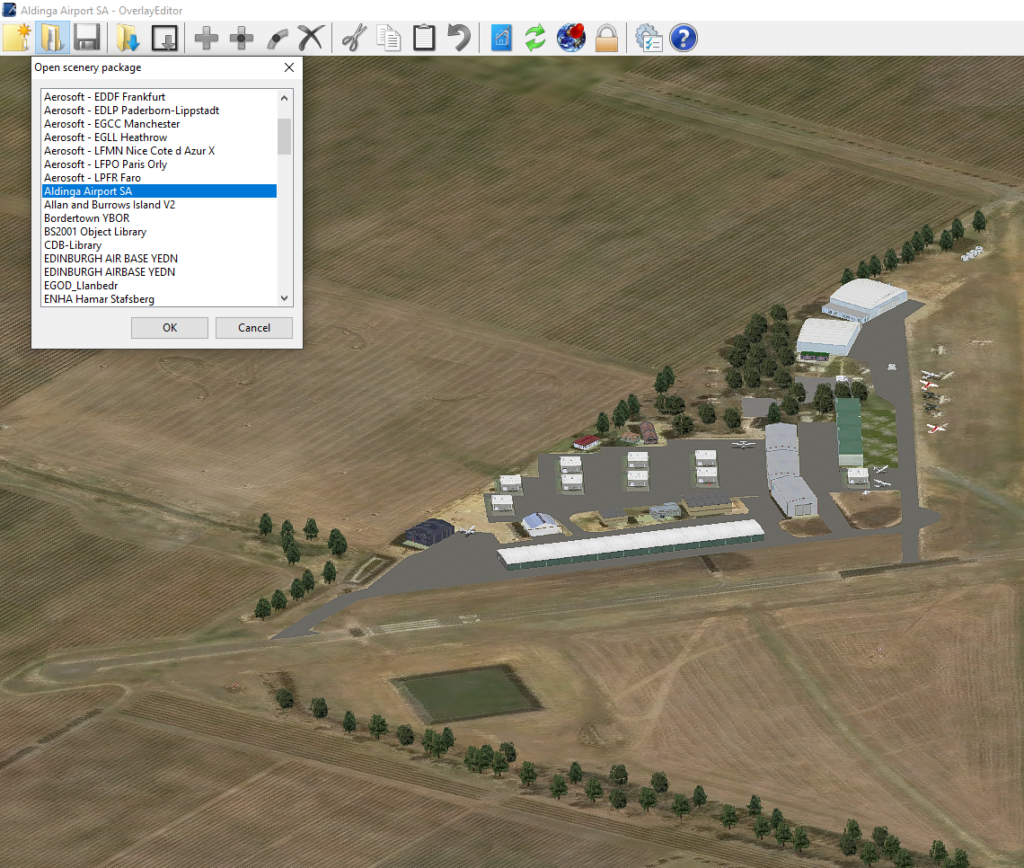
Select OPEN SCENERY PACKAGE and search for the airport you wish to edit. I have selected Aldinga airport which is an airport I have already started editing. It initially had no buildings or even tarmac. I have added everything including the water in the dam.
If you want to add a nearby town then you can select the nearest airport, zoom out and then center the town to start building. This is where the ortho overlay comes in so this is how you get it as a building reference.
Get Ortho Scenery to build over.
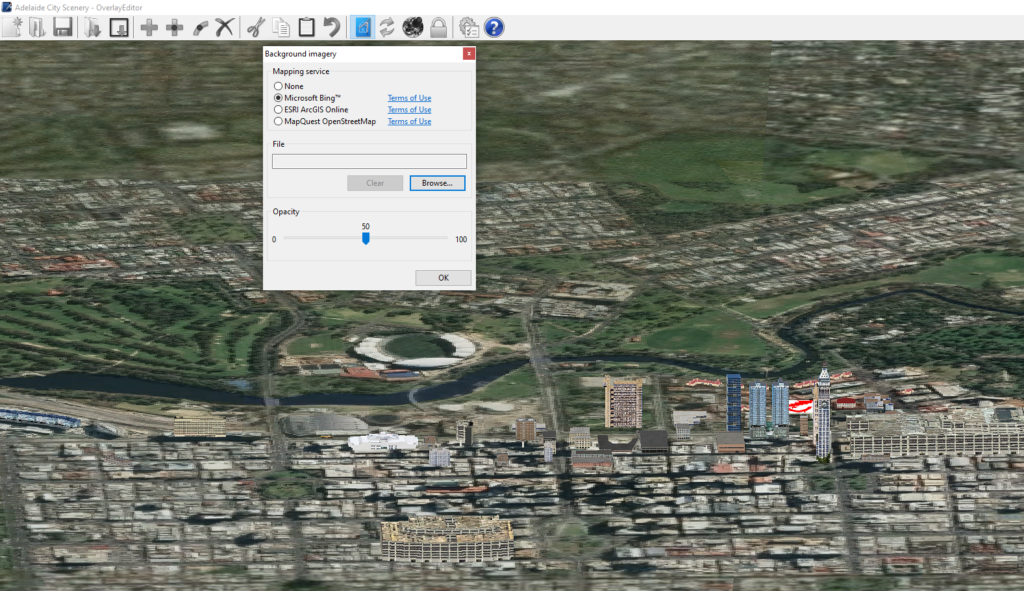
In the Menu at the top of the page you will find: – Background Scenery –
See highlighted button in blue below.
Use the dropdown background map scenery and choose the type you want. Ortho scenery from Bing is good. You can see the highlighted button above in BLUE. I was creating some HiRISE for Adelaide City Australia in the picture above. You can see the buildings in the area.
Placing Items on my airport.
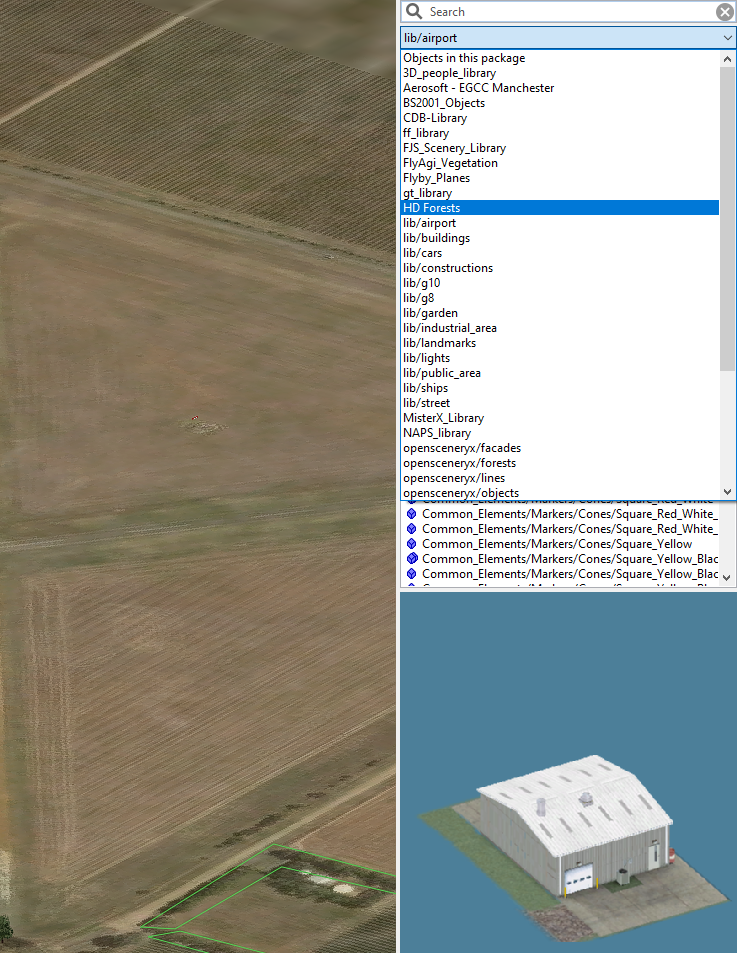
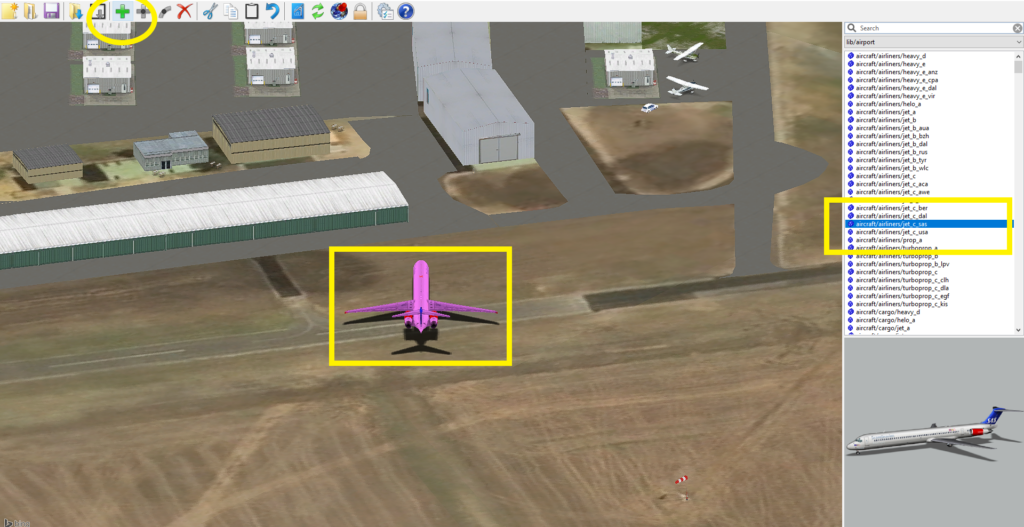
Selecting items for your airports is as simple as clicking on the library screen to the right and using the search box to find a hangar or an aircraft. It will appear in the box below so you can see what item you have selected.
Simply click on the PLUS in the top menu and the item will appear where the small red cross is. Move the screen to place the red cross where you want it or just hit plus then grab and move the item. You can click on it and rotate it as you need as well as add additional points and drag it out if it is a polygon.
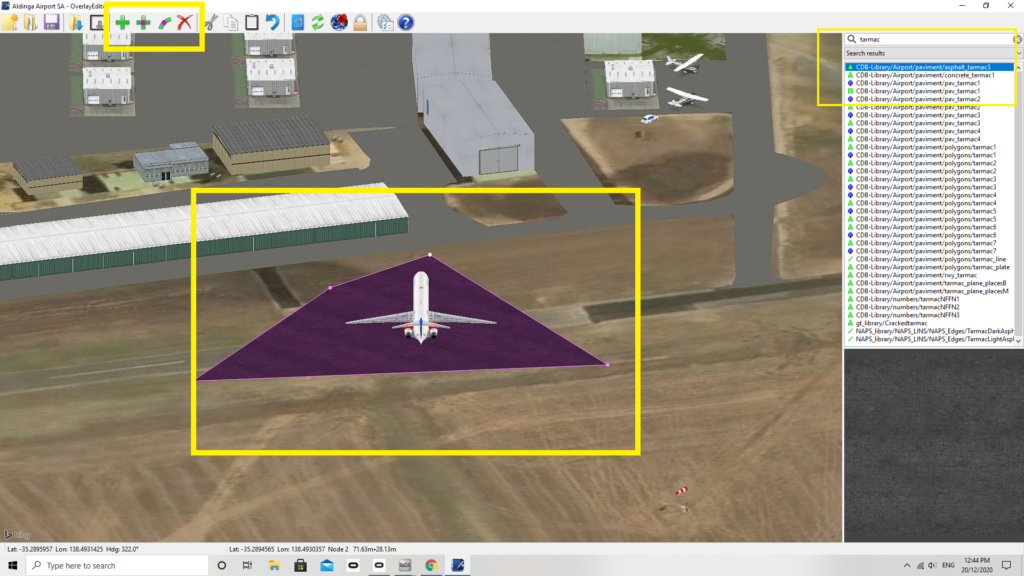
Select and search the Libraries for what you need. In this case TARMAC. Use the three tools in the menu bar to add: PLUS will + add an object and the tool next to it will add points that can be made round as well.
Creating Roads & Tarmac (Polygons).
Roads and tarmac areas as well as cement are normally polygons.
What’s a polygon? Well its like when your in a paint program and as you select a new point the line attaches itself to the last one. Click again and a new section adds itself to the last. You can make quite intricate shapes with this tool. You can also click on the created point and drag about a line so you can bend it for the corner of a taxi way or road.
Add 3D Grass and Trees.

Grass and 3 D trees are also available. These come in both individual items like trees or clumps of grass and flowers that are placed individually. Simply click on the item then the PLUS key to add it to the page. You can then click on it and move it to where you need. Hold the Left mouse button down to hold the item and move it.
There are forests of trees that are polygons. These you cover an area with a polygon shape and once you have the area covered click and trees or grass will be there. With these you define an area with adding points till you connect the first and last points by placing one over the other. This is like completing a fence if you like. The area will show as shaded so you know where your objects will be located.
I have selected a tree from the menu – Hit the PLUS in the menu bar to add it to the scene.


Saving your Project.
Saving your project is as simple as hitting the save as in the menu or the disk icon. Save the airport in the X Plane 11 Custom Scenery folder.
Installing your New Airport in X Plane.
Installing your airport is actually half done as Overlay editor will put it in your custom scenery library but this is not enough. You must now start X Plane so it recognizes the new airport or edited version of an existing airport. It now knows you have a new airport. Jump into your aircraft of choice and check out the new airport.
New airports created or edited on their own will appear fine most of the time. But if you have downloaded new libraries then the first time you start X Plane you need to then immediately exit and find your SCENERY.INI file and edit it. WHY? Because X plane uses a hierarchy as seen below and when you install new items it just puts them on the top of everything. go to your X Plane 11/custom scenery.ini file and open it with notepad.
Cut all library entries at the top and place them under all your airports in the list. Make sure all Mesh and ortho4xp scenery files are below them. This means the airport will have its objects above the ground scenery and the mesh that gives the airport its hills and valleys will be below. If you need help check out this tutorial on ORTHO4XP and INI files.
This is because meshes form that basic skeleton of the land, the ortho scenery or default scenery lived on top them libraries of objects sit on the scenery and then the airport and buildings are placed on the very top. I hope that makes it clear for you.
Throttle Quadrant – AMAZON.com
Overlay Editor: The SCENERY.INI Hierarchy

The hierarchy is that in the scenery.ini file the top entries must be airports then below are any ortho sceneries you may have created. Need photo scenery then click here! At the bottom comes all your libraries then meshes which form the shape of the terrain.
Lets Fly & What can go Wrong!
Overlay Editor is really very simple and easy to use but it can go wrong sometimes. Mostly its objects in libraries that don’t know where the ground is and float just above it.
Disappointing but well its free and people make mistakes when creating scenery objects. Load up X Plane 11 and taxi around the airport. See if all your taxi signs and objects are where you wanted them. Sometimes the alignment between airport layout and Ortho scenery can be misaligned so a little tweaking work may be needed.
Its a great pastime and makes your sim so much more immersive if your small airports doesn’t have anything. My own had nothing and now has trees, hangars, taxi ways, animated aircraft and people.
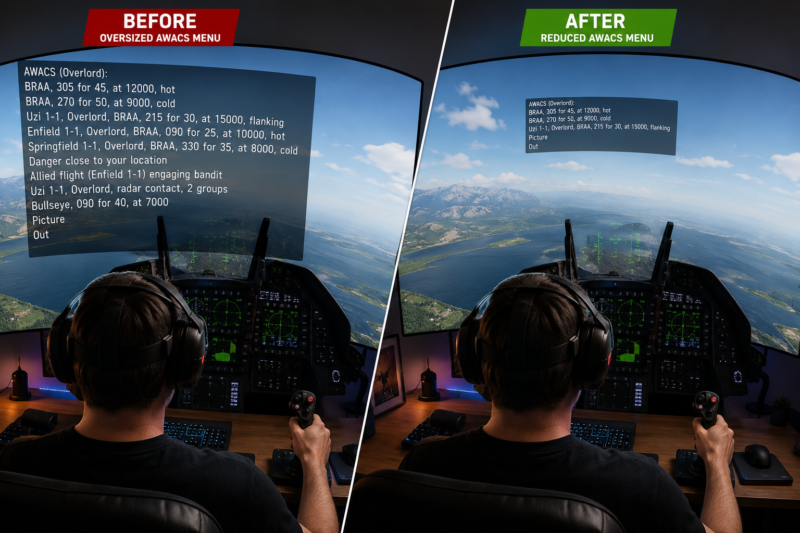
VR as a Tool!
Virtual realty now also becomes a factor as your buildings are in 3D depth and scale which makes it more important. You will have to check the objects like hangars for correct size. They may look fantastic in 2d on your screen then you get into VR and they look to small or enormous.
You can spend a lot of time building then find the building is big or to small. The most tie taken up in Overlay editor is just getting the correct building or tree for the situation. Scouring the libraries is the most time consuming task but it brings all sorts of new ideas with it.
Conclusion!
Enjoy your time building and sharing your new airports with your friends. It is truly rewarding and I hope this tutorial has also been helpful to getting you started.
I have a number of video tutorials building in Overlay Editor as well as creating Photo scenery with Ortho4Xp and building airports in World Editor by Laminar Research so come visit my YouTube channel: LETSFLYVFR
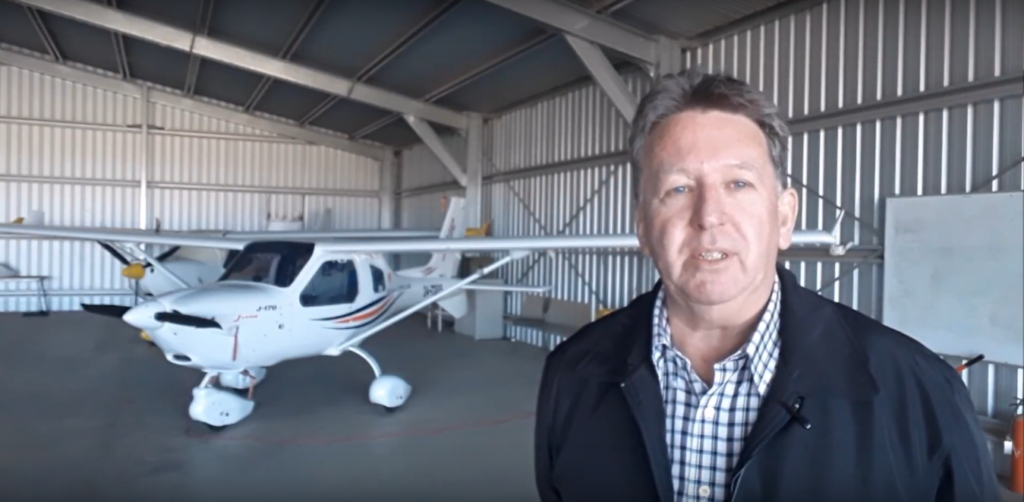
Author
Brendon McAliece (Aka Gunnie) is a military veteran with 23 years working on Jet Fighters, their weapons systems and ejection seat/module systems as well as munitions and R&D. Involved with flight simulation since the 1980s, he has flown all the major flight simulators over the years.
He is an Australian expat who has lived in Malaysia, UK, Saudi Arabia and more recently Thailand. He is a multi-lingual blogger who loves to share his life experiences here on LetsFlyVFR.com and DreamingGuitar.com, with his lifestyle and Travel experiences Blog plus his Dreaming Coffee website.
Learn More @ DreamingGuitar.com – DreamingCoffee.com – LetsFlyVFR.com
( HOME – BLOG – SHOP – ABOUT )
As an Amazon affiliate I may benefit from qualifying sales.
As an Amazon affiliate I may earn on qualifying sales.