Mastering ILS Approaches: Step-by-Step Guide for Pilots & Flight Sim Enthusiasts.
Landing in poor visibility is one of the greatest tests of a pilot’s skill and that’s where the Instrument Landing System (ILS) comes in. Whether you’re flying in the real world or in a simulator like X-Plane 11/12, mastering ILS approaches is an essential step in becoming a confident pilot.
Understanding the ILS Display
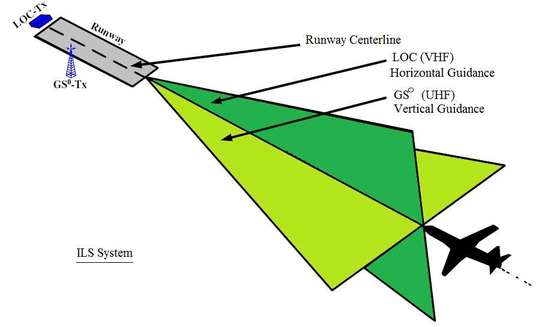
The ILS works like an invisible beam guiding you to the runway. Your cockpit instruments display two needles:
- Vertical Needle (Left/Right): Shows your position relative to the runway centerline.
- Horizontal Needle (Up/Down): Shows your position on the glide slope.
If the vertical needle is left of center, you’re right of the runway—so correct by turning left.
If the horizontal needle is above you, you’re too low—so hold altitude until it drops to center.
Airline pilots generally intercept the glide slope from below, as this is safer and more stable.
Approach Plates: Your Map to the Runway.
To fly an ILS, you’ll need the approach plate for your chosen runway. This chart provides:
- ILS frequency for that runway
- Runway elevation above sea level
- Magnetic runway heading
Example: A runway labeled R23 suggests 230°, but due to shifts in Earth’s magnetic field it might actually be 215°. Always cross-check and set your heading indicator correctly.
Setting Up an ILS Approach.
- Find the ILS frequency for your runway (via approach plate or SkyVector.com).
- Enter the frequency into NAV1 and activate it.
- Set your HSI/course indicator to match the runway heading.
- Intercept the extended runway centerline at a shallow angle (~30°).
Pro Tip: Use SkyVector.com for up-to-date charts, airport details, and flight planning.

Flying the ILS in X-Plane 11/12
- Switch from GPS to NAV mode.
- Rotate the OBS/course knob to the runway heading.
- Tune the ILS frequency into NAV1 and activate it.
- Fly towards the runway centerline until the ILS needles begin to move.
The “T-Scan” Instrument Technique
During an ILS approach, visibility may be poor you might see nothing but cloud. To stay on track, use a T-shaped instrument scan:
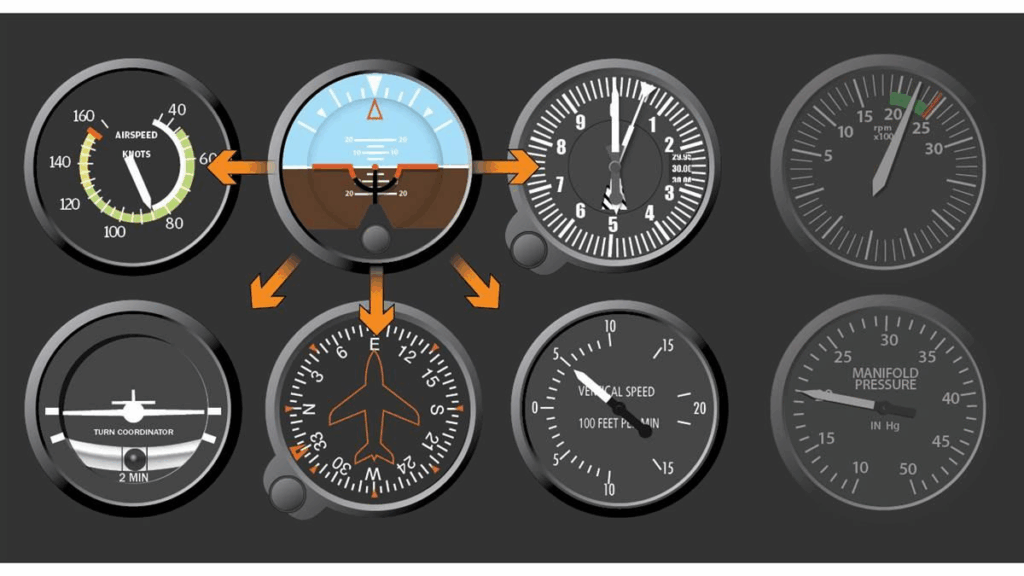
- Center: Attitude indicator (keep wings level)
- Left: Airspeed indicator
- Right: Altimeter & vertical speed indicator
- Bottom: Heading indicator
Cycle through these instruments quickly and continuously to stay stable.
Final Approach & Decision Height
- Descend at ~500 ft/min once established on the glide slope.
- Watch the PAPI/VASI lights:
- Two red, two white = on glide path
- More white = too high
- More red = too low
- At Decision Height (around 200 ft AGL), you must either see the runway or go around.
Practice Makes Perfect
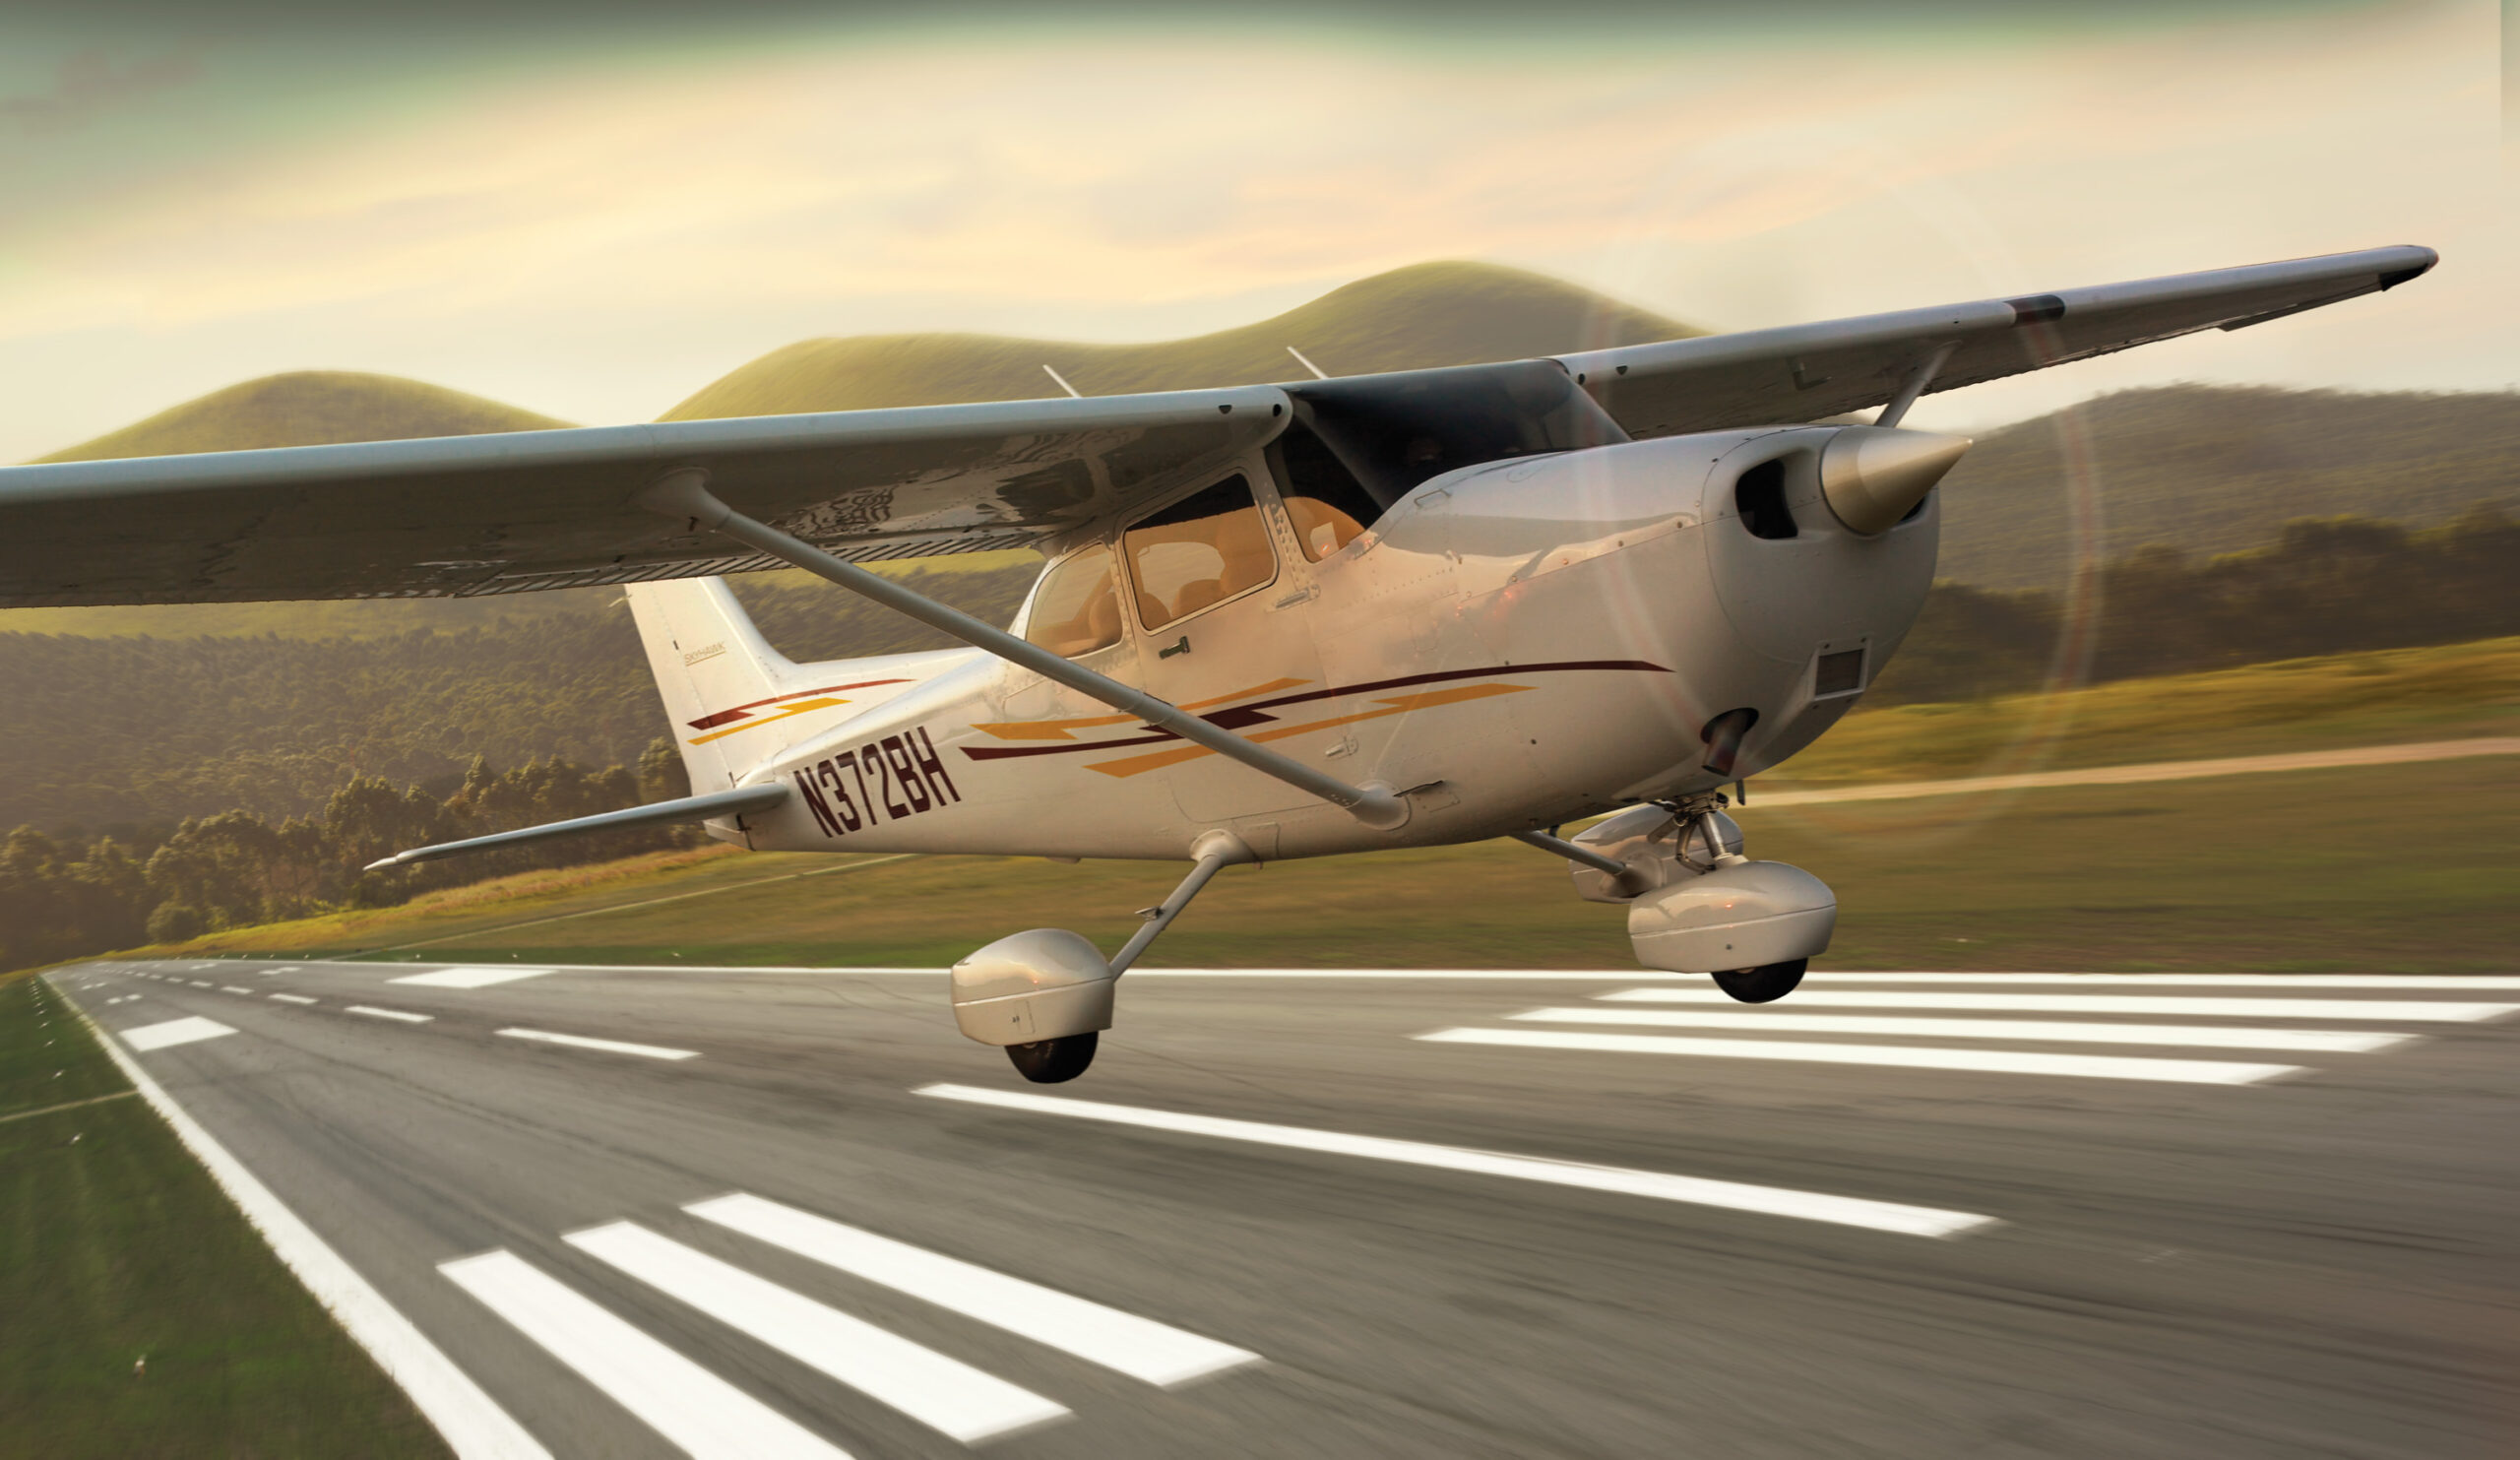
Don’t jump into a 747 on your first try start with a Cessna 172 or similar. Build confidence in the sim, practice with varying weather, and gradually work up to larger, faster aircraft.
The Complete Beginner’s Guide to DCS World
Welcome to the world of Digital Combat Simulator (DCS World), the ultimate flight combat simulation that brings the thrill of…


Comparing Real World Aviation Procedures to Flight Sim Techniques.
Flight simulators have grown into sophisticated training tools, bridging the gap between virtual flight and real-world aviation….
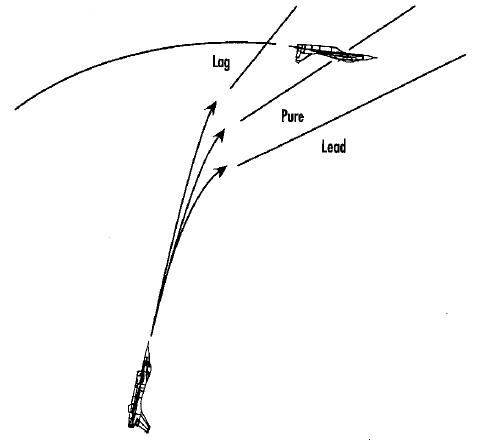
Mastering Dogfighting in DCS World and Falcon BMS: Max-Perform Your
This post covers essential techniques, cues, and parameters that new combat pilots need to dominate close-range dogfights in DCS World…
How to Move DCS World to Another Drive – Tutorial.
Moving DCS World off your Windows drive is a great way to free up space especially with DCS now taking…

DCS World Won’t Install the Latest Version 2.9 — Only
If you’re trying to install DCS World 2.9, but the installer keeps falling back to the older 2.5 version, you’re…

Missed the AMD X3D Upgrade? What AM4 PC Builders Can
Did you miss the AM4 X3D CPU upgrade like I did? Lets look collectively at our options for upgrades that…
DCS World Advanced Jet Course for T-45 Goshawk Freeware Training.
DCS World Advanced Jet Course for T-45 Goshawk Freeware Training. Course Overview This course is designed for pilots transitioning from propeller trainers…

Do You Want to Be a Real Fighter Pilot ?
Below is a realistic, DCS-friendly 20-flight basic program modelled on USAF primary training (T-6 style). Use it in DCS to…

DCS World in Virtual Reality: The Ultimate Fighter Pilot Experience.
This is DCS World in Virtual Reality is the most authentic way to live the dream of a modern fighter…
Author
Brendon McAliece (Aka Gunnie) is a military veteran with 23 years working on Jet Fighters, their weapons systems and ejection seat/module systems as well as munitions and R&D. Involved with flight simulation since the 1980s, he has flown all the major flight simulators over the years.
He is an Australian expat who has lived in Malaysia, UK, Saudi Arabia and more recently Thailand. He is a multi-lingual blogger who loves to share his life experiences here on LetsFlyVFR.com and DreamingGuitar.com, with his lifestyle and Travel experiences Blog plus his Dreaming Coffee website.
Learn More @ DreamingGuitar.com – DreamingCoffee.com – LetsFlyVFR.com
( HOME – BLOG – SHOP – ABOUT )
As an Amazon affiliate I may benefit from qualifying sales.